准备
- 服务域名。
- 服务域名对应的SSL证书。
- 一台服务器。
安装环境
系统: Centos 7
配置信息:1H/2G/5M
架构
Unbound
Unbound负责解析、缓、转发查询、 DNS-OVER-TLS
DOH Server
提供 DNS-OVER-HTTP 服务
NGINX
将DNS-OVER-HTTP转DNS-OVER-HTTPS
安装
1、配置安装环境
yum install -y crontabs
yum install -y wget gcc tar zip redhat-lsb gawk unzip net-tools psmisc glibc-static expect telnet
yum install -y openssl openssl-devel lzo lzo-devel pam pam-devel automake
yum install -y autoconf libtool make build-essential curl curl-devel zlib-devel perl perl-devel perl-core cpio expat-devel gettext-devel git asciidoc xmlto
yum -y install epel-release bind-util libevent libevent-devel
yum install python-setuptools -y && easy_install pip
yum install python-devel libffi-devel -y
yum group install 'Development Tools' -y
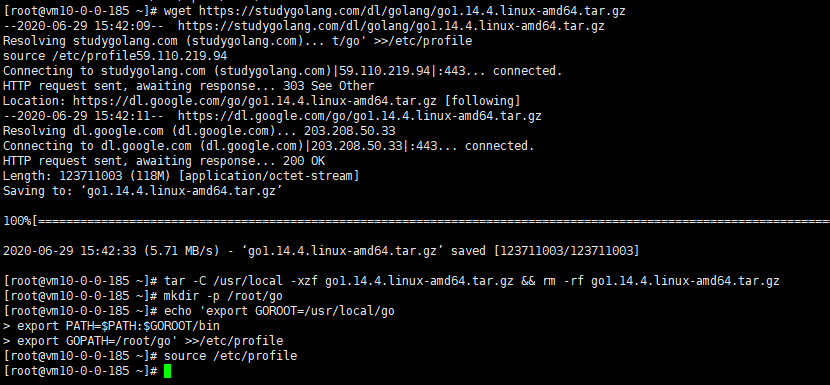
2、安装Go
dns-over-https 服务基于Go语言编写,所以需要安装GO语言环境。
下面的Go是Linux x86-64的安装包,如果你得机器是其他架构,请到https://studygolang.com/dl选择自己机器对应的安装包。
wget https://studygolang.com/dl/golang/go1.18.2.linux-amd64.tar.gz
tar -C /usr/local -xzf go1.18.2.linux-amd64.tar.gz && rm -rf go1.18.2.linux-amd64.tar.gz
mkdir -p /root/go
echo 'export GOROOT=/usr/local/go
export PATH=$PATH:$GOROOT/bin
export GOPATH=/root/go' >>/etc/profile
source /etc/profile
安装Go
配置国内镜像,国外服务器跳过下面步骤
go env -w GO111MODULE=on
go env -w GOPROXY=https://goproxy.cn,direct

配置国内镜像源
3、安装libsodium
cd /root
wget -N --no-check-certificate https://cdn.nextrt.com/dns/soft/libsodium-1.0.18.tar.gz
tar xf libsodium-1.0.18.tar.gz && cd libsodium-1.0.18
./configure && make -j2 && make install
echo /usr/local/lib >/etc/ld.so.conf.d/usr_local_lib.conf
ldconfig
rm -rf ../libsodium-1.0.18*
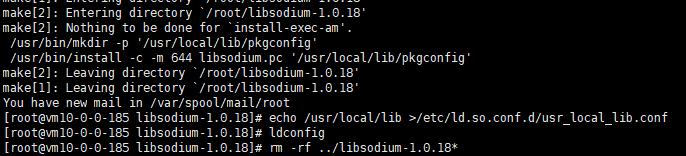
安装libsodium
4、安装DOH Server
cd /root
git clone https://github.com/m13253/dns-over-https.git
cd dns-over-https
make && make install
systemctl start doh-server.service
systemctl enable doh-server.service
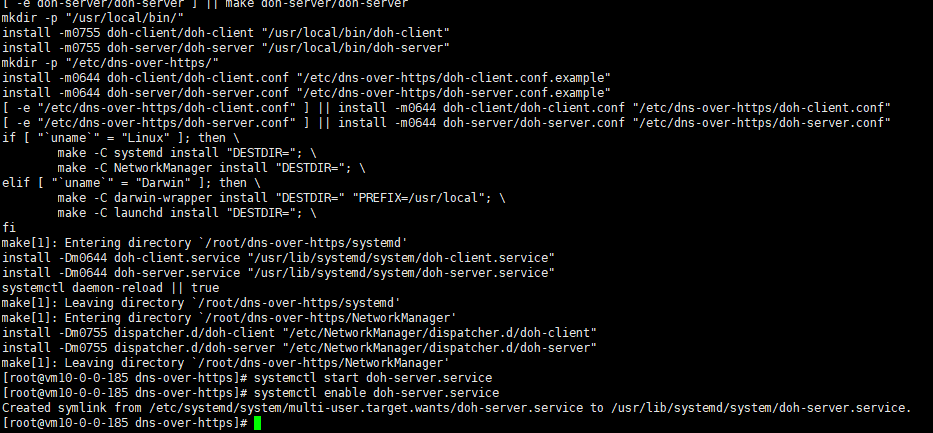
安装DOH Server
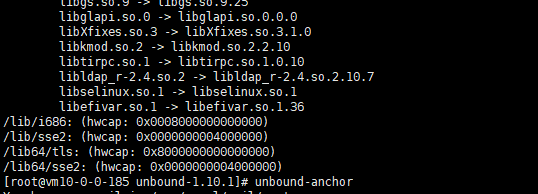
5、安装Unbound
wget https://nlnetlabs.nl/downloads/unbound/unbound-1.15.0.tar.gz --no-check-certificate
tar -zxvf unbound-1.15.0.tar.gz && rm -rf unbound-1.15.0.tar.gz && cd unbound-1.15.0 && ./configure --enable-subnet --with-libevent --with-pthreads --with-ssl --enable-dnscrypt
make && sudo make install
curl -o /usr/local/etc/unbound/root.hints ftp://ftp.internic.net/domain/named.cache
/sbin/ldconfig -v
unbound-anchor
mkdir /etc/unbound
安装Unbound
配置
配置Unbound
以下是部分需要自己配置的地方文件说明
server:
	verbosity: 1
	interface: 0.0.0.0@50 #监听50端口,用于普通查询
	interface: 0.0.0.0@853 #监听853端口,用于提供DNS-over-TLS
	do-ip6: no #如果你有ipv6网络,可以将no改为yes
	num-threads: CPU核心数
	msg-cache-slabs: CPU核心数
	rrset-cache-slabs: CPU核心数
	key-cache-slabs: CPU核心数
	infra-cache-slabs: CPU核心数

	include: "/etc/unbound/insecure.conf" #国内机器需要跳过某些域名的DNSSEC校验,国外机器删除此行
	tls-port: 853 #DOT端口,不需要DOT删除此行
	tls-service-key: "TLSKEY" #SSL密钥文件路径,不需要DOT删除此行
	tls-service-pem: "TLSCERT" #SSL证书文件路径,不需要DOT删除此行

	include: "/etc/unbound/forward.conf" #国内机器需要转发部分域名的查询,国外机器删除此行
	include: "/etc/unbound/domestic.conf" #国内外机器都需要对某些高防DNS查询请求进行转发
国内机器配置文件参考
server:
	verbosity: 1
	interface: 0.0.0.0@50
	interface: 0.0.0.0@853
	username: "root"
	access-control: 0.0.0.0/0 allow
	access-control: ::1 allow
	do-ip4: yes
	do-ip6: no
	do-udp: yes
	do-tcp: yes

	num-threads: 1
	msg-cache-slabs: 1
	rrset-cache-slabs: 1
	key-cache-slabs: 1
	infra-cache-slabs: 1

	log-servfail: yes
	aggressive-nsec: yes
	hide-trustanchor: yes
	hide-version: yes
	hide-identity: yes
	qname-minimisation: yes
	qname-minimisation-strict: no
	minimal-responses: yes
	rrset-roundrobin: yes
	so-reuseport: yes
	do-not-query-localhost: yes
	infra-cache-numhosts: 10000
	so-rcvbuf: 8m
	so-sndbuf: 8m
	neg-cache-size: 32m
	msg-cache-size: 64m
	key-cache-size: 64m
	neg-cache-size: 32m
	rrset-cache-size: 128m

	outgoing-range: 8192
	num-queries-per-thread: 4096
	outgoing-num-tcp: 1024
	incoming-num-tcp: 2048
	jostle-timeout: 300

	cache-min-ttl: 120
	cache-max-ttl: 86400
	infra-host-ttl: 3600
	serve-expired-ttl: 86400
	cache-max-negative-ttl: 360
	serve-expired: yes
	prefetch: yes
	prefetch-key: yes
	max-udp-size: 4096
	edns-buffer-size: 4096
	send-client-subnet: 0.0.0.0/0
	send-client-subnet: ::0/0
	max-client-subnet-ipv6: 56
	max-client-subnet-ipv4: 24
	client-subnet-always-forward: yes
	module-config: "subnetcache validator iterator"
	root-hints: "root.hints"
	auto-trust-anchor-file: "/usr/local/etc/unbound/root.key"
	tls-cert-bundle: "/etc/pki/tls/certs/ca-bundle.crt"

	minimal-responses: yes
	include: "/etc/unbound/insecure.conf"
	tls-port: 853
	tls-service-key: "/www/server/panel/vhost/cert/dns.233py.com/privkey.pem"
	tls-service-pem: "/www/server/panel/vhost/cert/dns.233py.com/fullchain.pem"

	include: "/etc/unbound/forward.conf"
	include: "/etc/unbound/domestic.conf"
国外机器请删除上面文件
include: "/etc/unbound/forward.conf"
include: "/etc/unbound/insecure.conf"
配置DNS-OVER-HTTP
编辑/etc/dns-over-https/doh-server.conf修改内容为下方所示
# HTTP listen port
listen = [
    "127.0.0.1:8053",
    "[::1]:8053",
]
local_addr = ""
cert = ""
key = ""
path = "/dns-query"
upstream = [
    "udp:127.0.0.1:50"
]

timeout = 6
tries = 3
verbose = false
log_guessed_client_ip = false
配置文件自动更新
因为高防dns列表和转发列表可能每天都在更新所以需要添加一个定时任务来执行以下脚本,具体怎么添加不做赘述,请自行添加。
#!/bin/bash
echo Restart DNS Serve...
echo "更新转发配置文件"
curl -o /etc/unbound/forward.conf https://download.233py.com/dns/update/forward.conf
curl -o /etc/unbound/domestic.conf https://download.233py.com/dns/update/domestic.conf
curl -o /etc/unbound/insecure.conf https://download.233py.com/dns/update/insecure.conf
echo "重启Unbound"
killall unbound
unbound -v
echo "重启DOH"
systemctl restart doh-server.service
echo "重启完成"
exit 0;
进程检查,防止宕机
每分钟运行下面脚本,防止Unbound进程挂了。
#!/bin/bash
PIDS=`ps -ef |grep unbound |grep -v grep | awk '{print $1}'`
if [ "$PIDS" == "" ]; then
 unbound -v
fi
放行防火墙
firewall-cmd --permanent --zone=public --add-port=853/tcp
firewall-cmd --permanent --zone=public --add-port=443/tcp
firewall-cmd --permanent --zone=public --add-port=80/tcp
firewall-cmd --reload
setenforce 0
配置Nginx
之前dns-over-https服务只是实现dns-over-http而https工作交由nginx来实现。
在nginx配置文件中添加以下内容
 location /dns-query {
    proxy_set_header X-Real-IP $remote_addr;
    proxy_set_header X-Forwarded-For $proxy_add_x_forwarded_for;
    proxy_set_header Host $host;
	proxy_set_header REMOTE-HOST $remote_addr;
    proxy_set_header X-NginX-Proxy true;
    proxy_http_version 1.1;
    proxy_set_header Upgrade $http_upgrade;
    proxy_redirect off;
    proxy_set_header X-Forwarded-Proto $scheme;
    proxy_read_timeout 86400;
    proxy_pass http://127.0.0.1:8053/dns-query;

    add_header X-Cache $upstream_cache_status;
    proxy_ignore_headers Set-Cookie Cache-Control expires;
    proxy_cache cache_one;
    proxy_cache_key $remote_addr$uri$is_args$args;
    proxy_cache_valid 200 304 301 302 1m;
    expires 12h;
}